Art Of Levi
contact:levii@me.com
2001 a space odyssey - 3D fan art Project.
Welcome to this first post of personal projects. I decided to start documenting some of these in order to give a little glimpses of projects that occupy my time. Hopefully its somewhat interesting.
I am a huge Kubrick fan and love so much of his work. So when i was one day thinking of doing a personal project that i wanted to do. His epic 2001 , Space odyssey came to mind. I wanted to somehow do a project that pushed my knowledge base with what i do for work and also trying to understand the work that was put behind the movie. I decided to re-watch it a couple of times. To understand its visual language, it's design. There are reviews out there circulating around Kubricks symbolic means of the film but i decided just for the purpose of this project to stick to the surface level of study. Just purely visual understanding and the practical side of it.
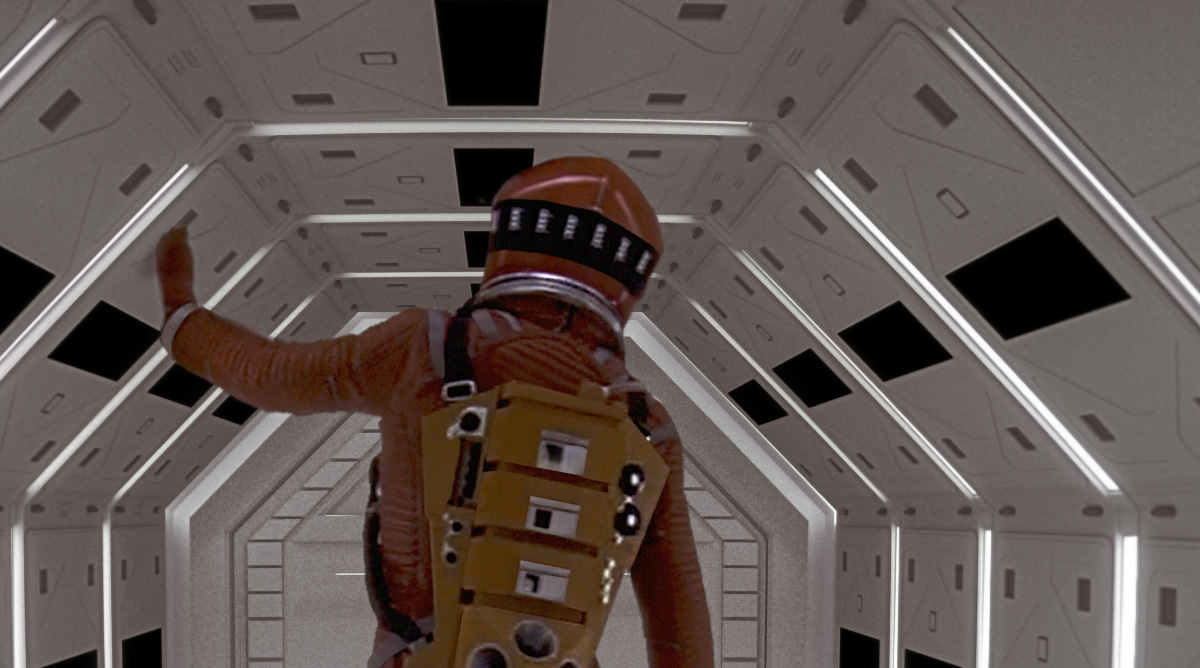
So the idea of the project is to take the following screen-grab from the movie and recreate this in a 3D Environment.
This is a direct screen capture from the movie.
Our final 3D image.
The second reason is to push the level of knowledge for my approach. What can i do to make something truly realistic looking and having a pipeline that is easy to work with. So i set up a few criteria as follows.
1.Only do Low poly meshes.
Why? Well to simply put, practice on clean modelling. This doesn't mean the mesh will not have detail in fact you work the model so it only has model complexity exactly where you need it. This will not clog your scene if you found yourself aiming for having a scene with a lot of geometries. Plus being aware of clean topology for the mesh will also make it more adaptable for a a bigger production environment. The model will need to hold up to max scrutiny once we go into render stages. This particular modelling will be somewhat time consuming at first but because we need to think that this image in the end needs to hold up to final realism it will be worth it.2. High render quality and low render-time.
The aim here is to understand what you can push out of your renderer. Solve lighting issues and be able to do quick turn arounds. It goes without saying that a fast render enables you to try more ideas and test. Octane Renderer that runs on Cuda cores will suffice for me here. Ideal resolution we will aim for will be around 3k-4k. We want high quality renders so our post 2D work will be minimal. If we settle for a lot of post work fixes then a change in the scene with re-render will force us to re do these paint fixes. So lets aim for the renders to be as good as possible.
3. Best texture size for fine details.
With optimised geometry and our goal for high level detail we need to figure out what map size and what kind of map works to achieve it. We will only need these maps though when its required. Alternatives will be procedural maps. We need to avoid typical "bump effects" because we don't want to have anything in the scene that says this is a computer generated image.
4. Whats the best camera to tell our story/idea.
This particular point is about storytelling and composition. What will be required to show the narrative. Close-ups for intimate scene and wide lens for landscape and environments. This is especially strong with Kubrick and how he approached movie making. Explore the limitations of different focal lengths.
5.Narrative trumps the tools.
No matter how we do this shot and what technology we use. The goal is always to tell the story.We will need to keep the balance of creating a nice visual that tells the story well.
So lets start the project.
How is it built?
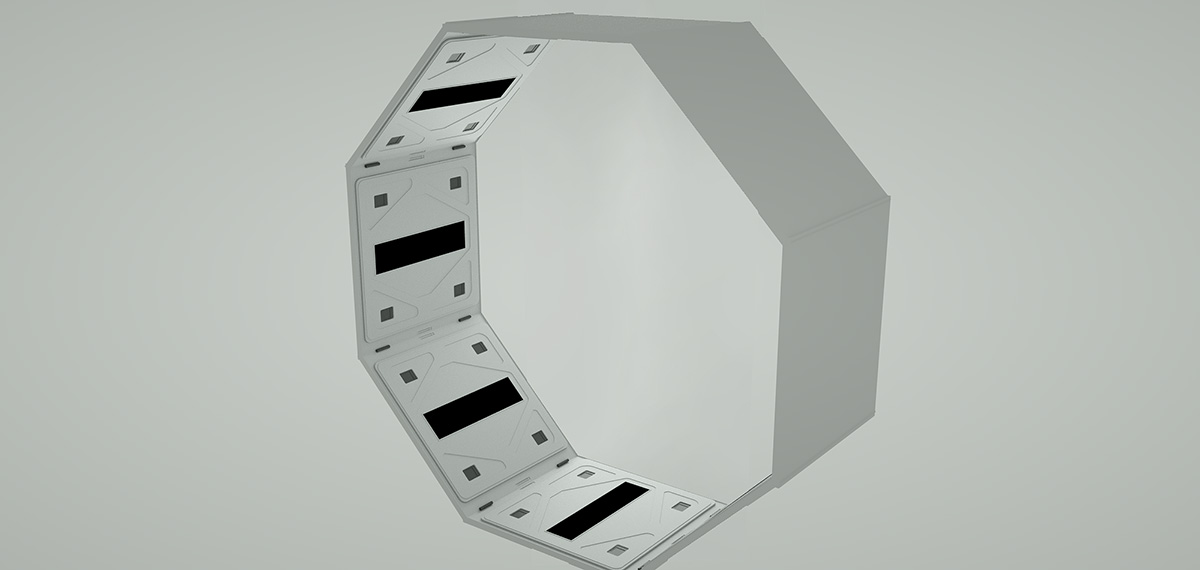
how much do i actually need to model? If we look closely at the panels we realise its duplicated several times and so what i will need to do is to model just a few panels and distribute it in my scene. There are also unique items, as the door, the ladder and 2 of the panels on the right side. I will not aim for perfect replication but just something that gets me close enough. I choose to model in maya 2015. Below is one of the main panels used and duplicated. It is also important to note the functionality of the designs as strong design is a narrative for the film.
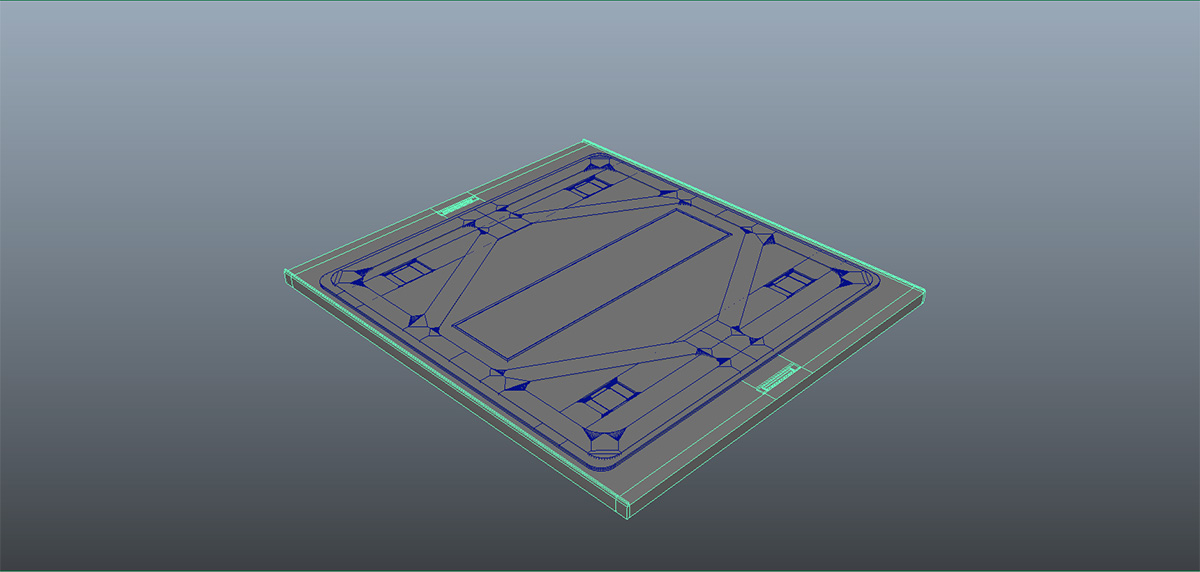
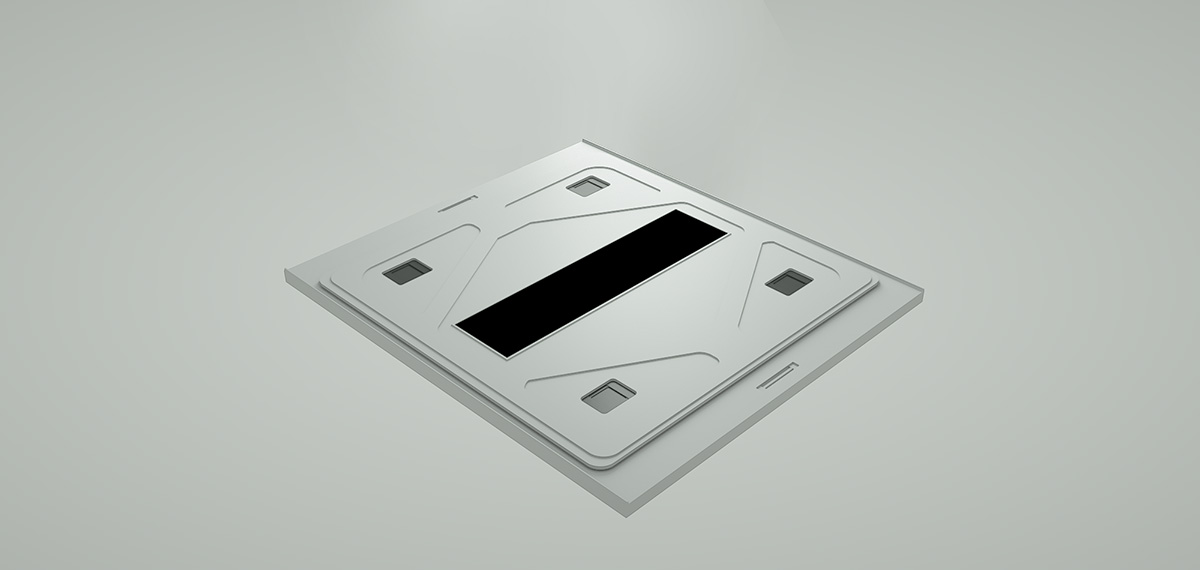
A few more images from the models for the scene. Not how this scene is designed to be built efficiently. We only needed to model 1-2 panels, The rest is assembling these in a row, and duplicating the row. This was the brilliant bit about Kubrick's design. Although it may look complex the creation of it is very simple!
What makes this particular scene realistic is the scale ratio of the details. The relationship is important to note. Detail do not directly give you realism but the relationship between big, medium and small shapes/forms do. For instance an empty panel on its own is hard to tell how big it is but if you add a screw detail on it we understand exactly how big the panel is. This translates for the whole scene.
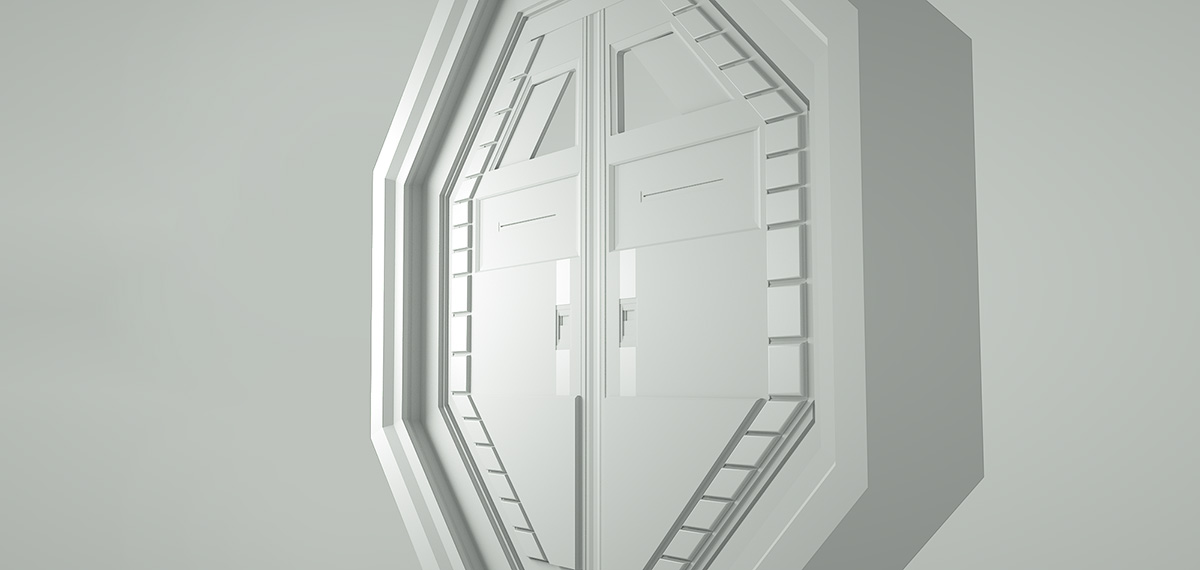
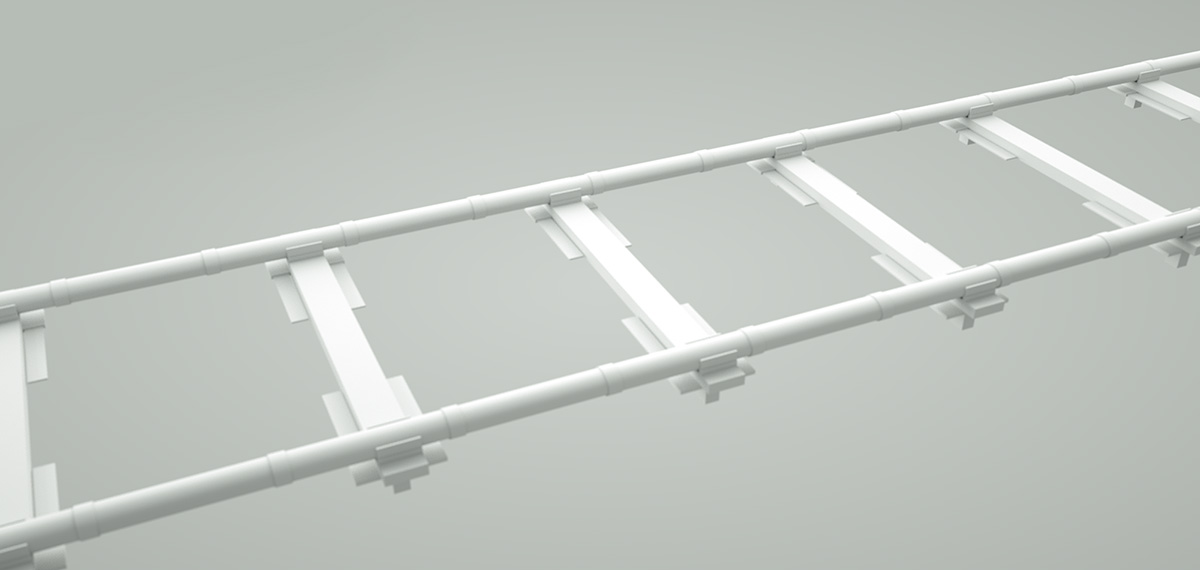
Now look at the whole scene assembled.

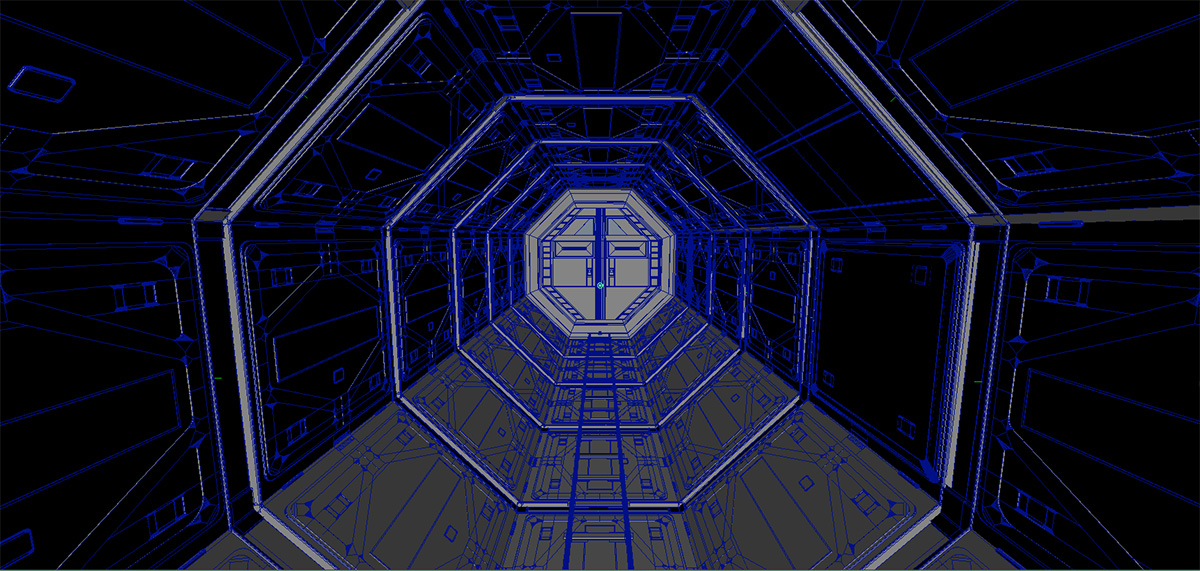
How is it lit?
Can i use a single geometry to emit light from? Yes we can, as this scene is basically one big tunnel. I will model this tunnel and assign a shader that emits light. You could model each lighting panel individually but then think when you need to potentially assign or re-assign shaders to the geometry. It's much quicker to assign to one geometry. Take a look at the viewport below.
What kind of focal length is the camera?
Kubrick often created new lenses for his films.To find out exactly what focal length this was will be nearly impossible. For me it will simply have to be a guess game based on render/reference comparison. Alternatively we could isolate this sequence and have it go through a image analysis to get a focal length to start from.
Lets look at a couple different screen captures from the movie. See how wide the angle is and how strong the barrel distortion is.
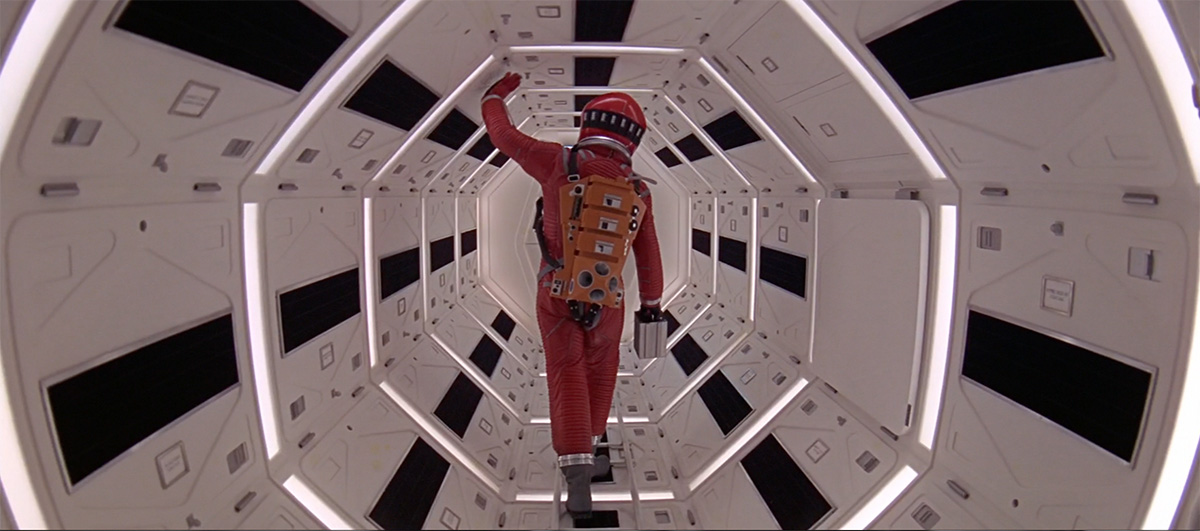
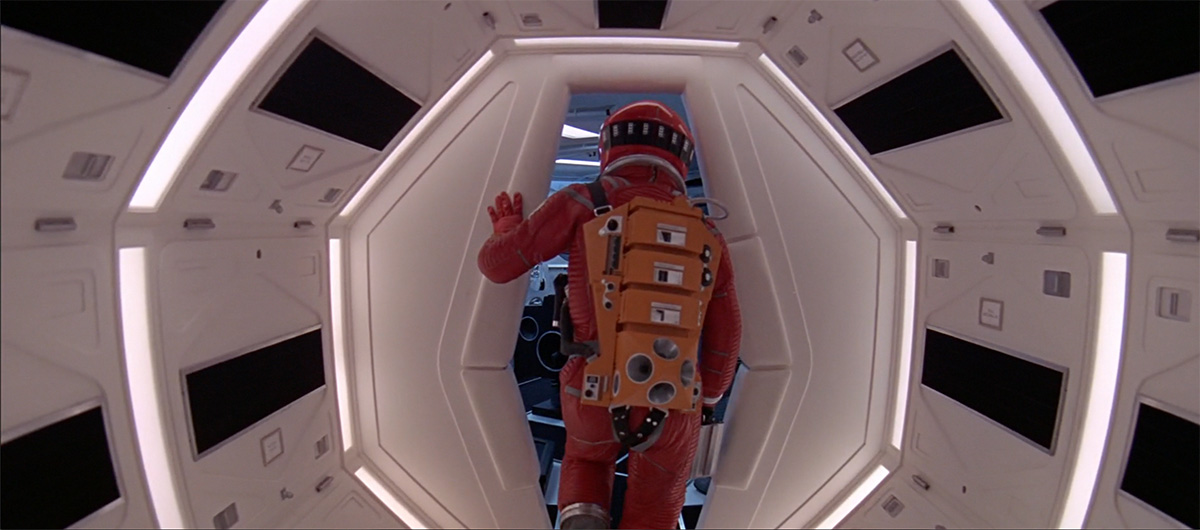
Lets look at aligning the camera as close as possible to the original movie placement. Note how claustrophobic this scene is, as we are also in this space suit following the person. We will move the camera to eye-level. Note that we haven't added any distortion to the camera but just made our lens really wide. Our Octane camera's focal length ended up being 12! A very wide lens.
Now that we are aligned, our lighting is working. We can render a bigger frame. We also crunch the distortion for our Octane camera to get us closer. Once again we don't want to get 100% accuracy, just close enough. Also take note of that the type of white-balance we have from the original movie and our frame is different. But don't worry , we will let this be an adjustment we work with in Photoshop.
A few test renders with very low samples to see how our lighting works, the camera angle and distortion looks. I do tests on low res and low samples.
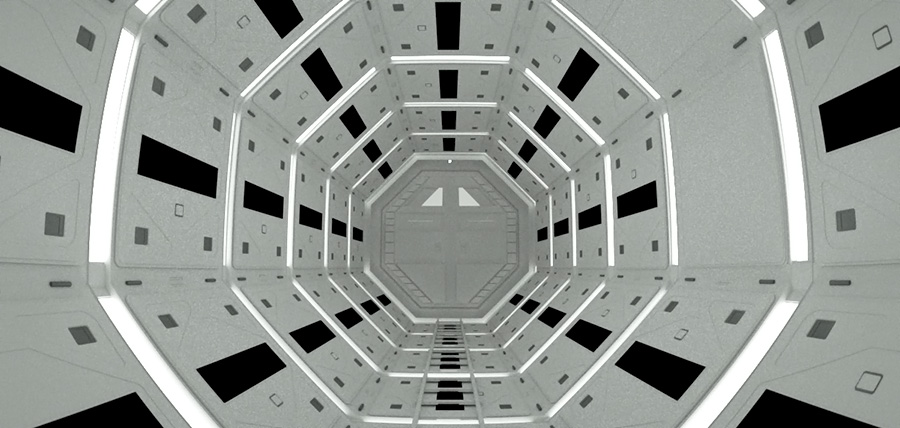
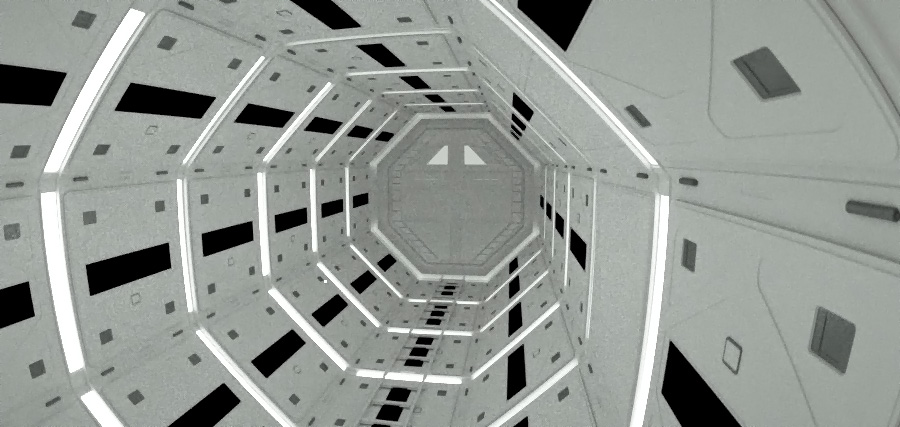
In the last stages we will collage in the character from the film, giving attention to the edges and the noise of the material. With adjustment layers and color-balance we match the contrast and the white balance. Within photoshop we want to emphasise a little bit more glow too, but not push it too far as it can just feel too fake hen its too much. You will notice some sample noise in the close ups but since we are not meant to view the image that close so up we will settle with it. Now lets look at the final image!
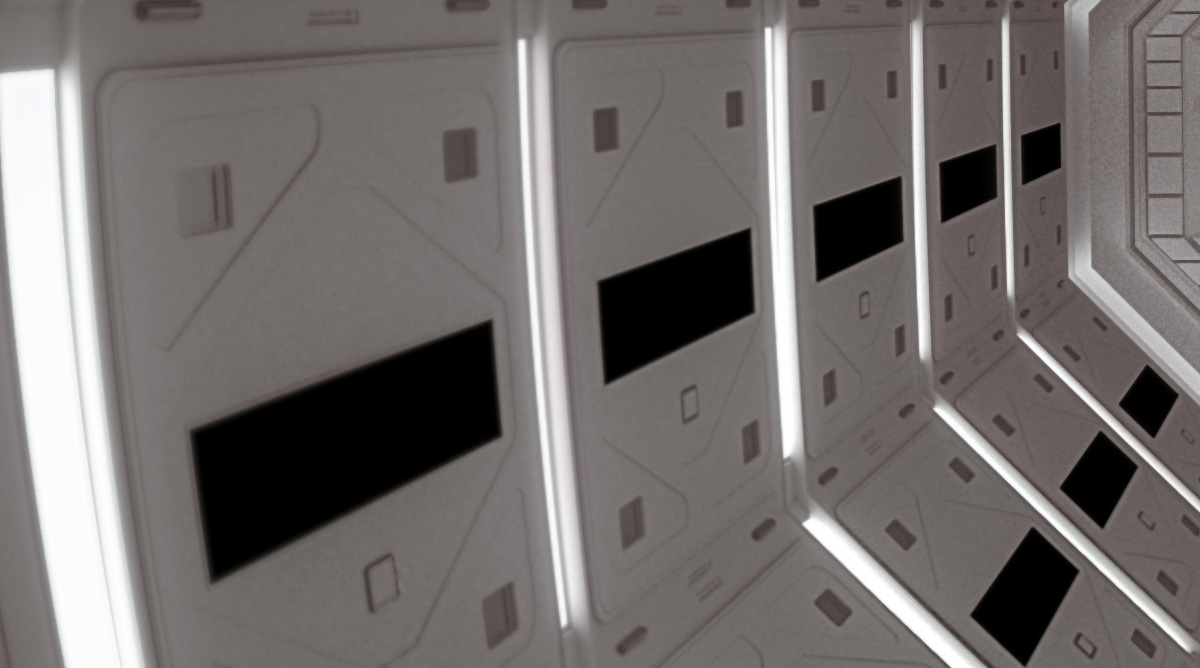
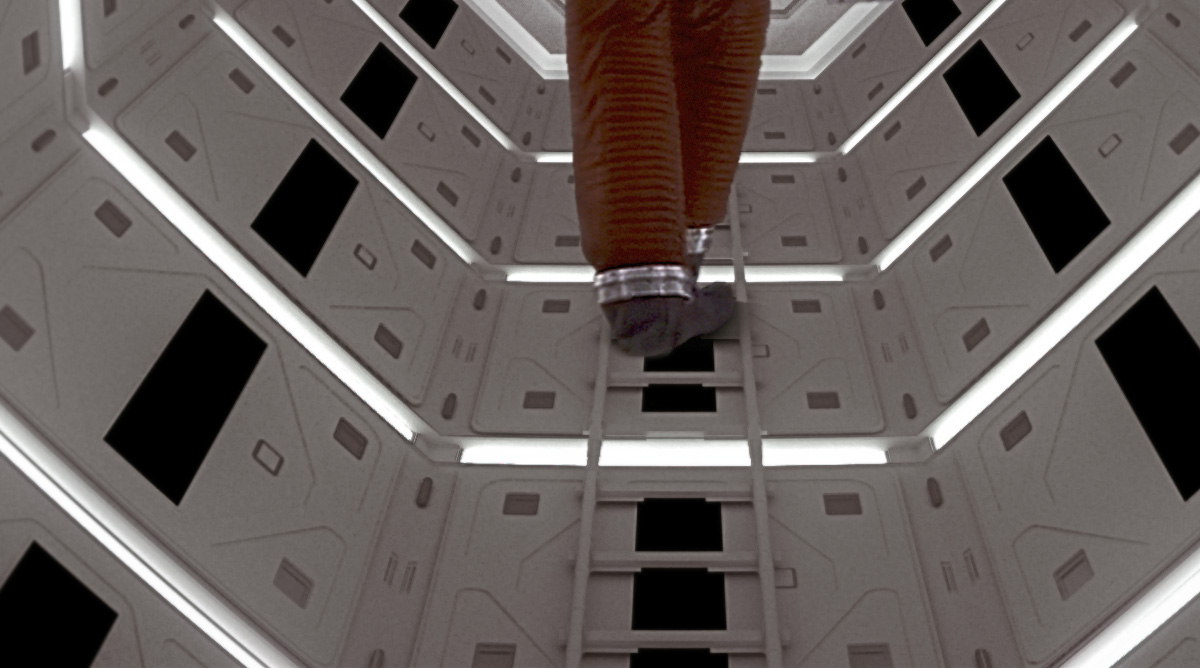
A few cropped close ups.
